But its never fun to travel by oneself, so I asked my best friend Jenny to tag along with me. We actually weren't best friends at the time, but I admired her work ethic and thought she was a fabulous designer, so I figured two heads were better than one! And to my excitement, she agreed to help me out with the project! Not only was she a huge help (and still is), but it was so much fun traveling and exploring Corpus with her.
You will see in the before pictures that there wasn't much to work with. Plus... we only had a budget of $1700! So we had to get real creative!

I used a very inexpensive sofa solution (it actually came in pieces) but great for a children's room. There is storage under the entire piece and all upholstery is removeable, stain resistant, washable, AND re-orderable, just in case you get an unexpected rip or tear.
Me and Jenny also searched for hours and hours for the perfect rug. And actually the one I wanted was out of stock! Story of my life! But we lucked out and found this one at a HomeGoods by my house, along the with shaggy green one in the playroom, and they worked out perfectly! I think its the perfect amount of pattern.


Before- little or no seating. Blah carpet, Blah walls, Blah lighting, Blah, Blah, Blah...


One great way children can express themselves is through art. The client had already bought this chalkboard and I thought it was the perfect touch. Since there were no closet doors, what better idea than to just do fabric panels. Except... I never could find any fabric I liked, so I went with pre-made table clothes that I hemmed and folded a rod pocket into. This really cleaned everything up. Now all the toys were in the closet, and they were hidden by these fabric panels.

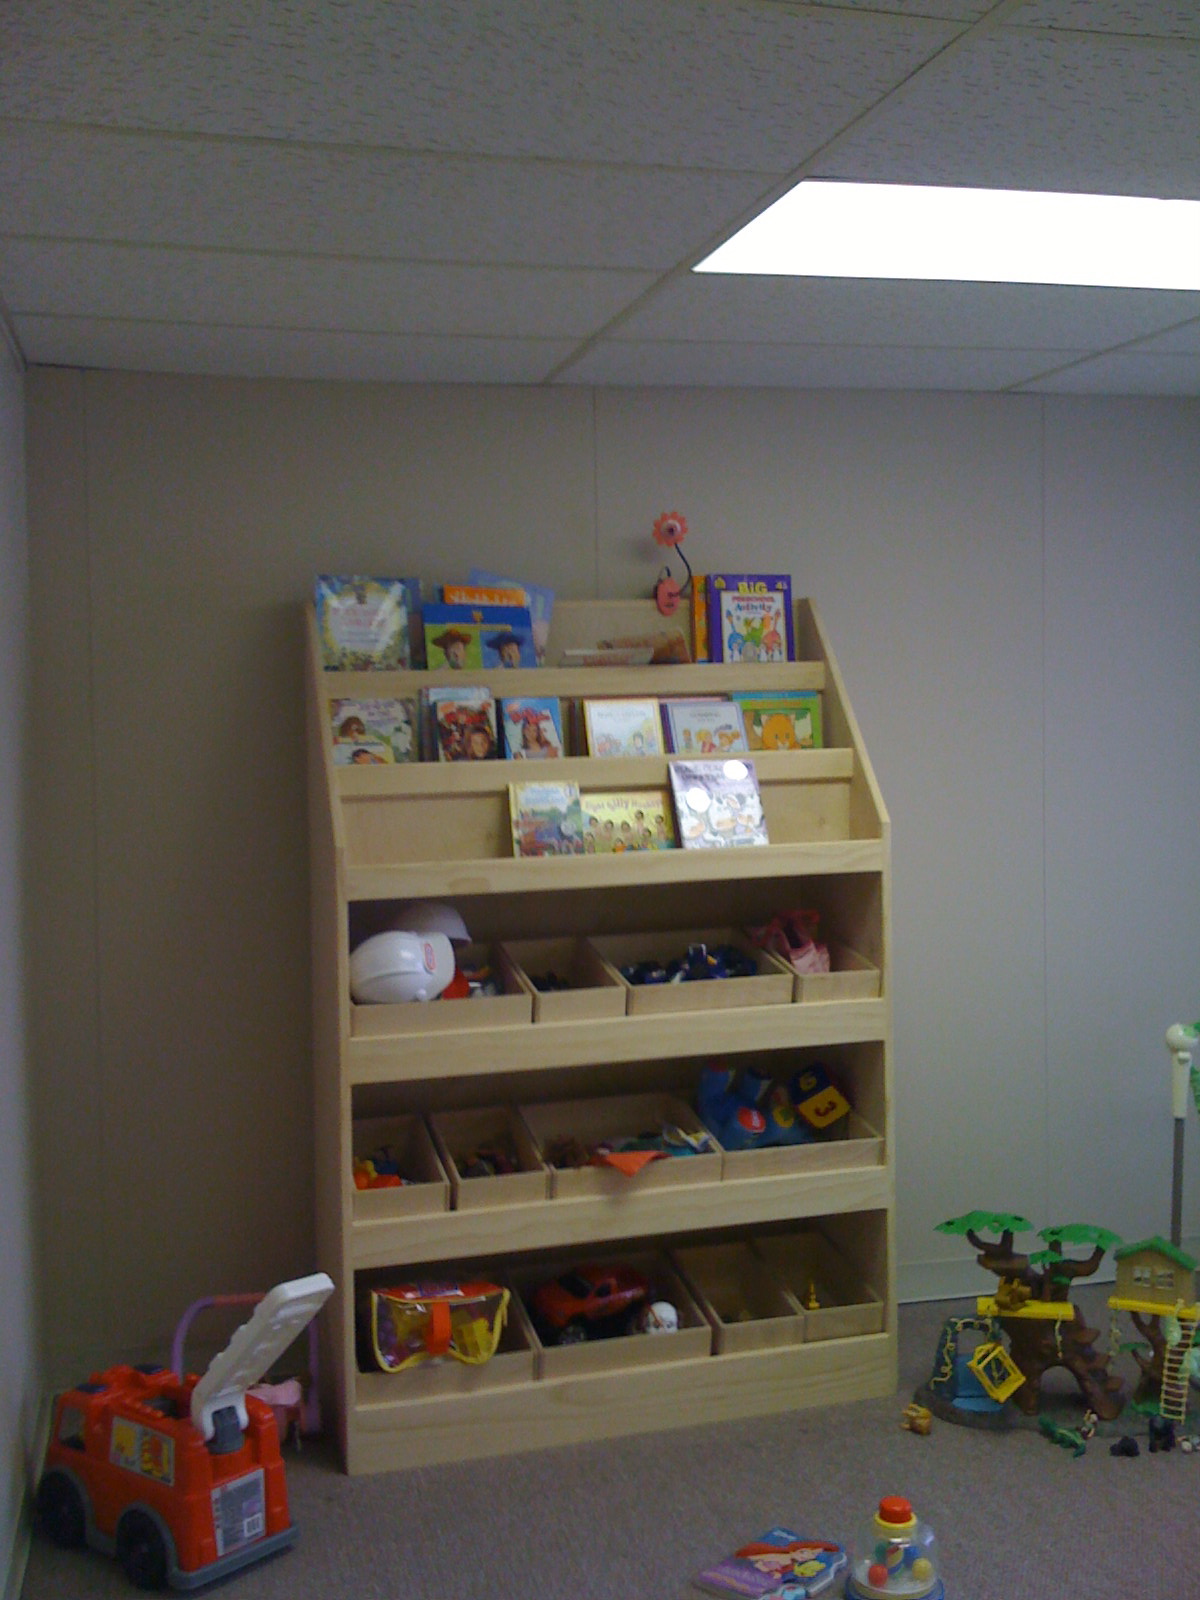
Before- My biggest nightmare... CLUTTER! I can't stand clutter. They didn't like it either. Plus, clutter can really be overwhelming to some of these children. I needed to get rid of it and quickly!

This once-drab-room was instantly brought to life with a happy red wall (Jenny's idea) and fun stick-on wall murals. The custom leaf beanbags I created were a big hit and went well with the reclaimed tree-stump stools from Hurrican Ike (thanks to Jenny and her uncle for all the time well spent on those!)

Before- As you can see... BORING once more...

Fun custom window coverings that I made go great with the red wall, which helps them not get too crazy. A little green shag run looks like grass and the tree stumps are placed in a circle for the perfect story-time environment.

Before- dangerously sharp metal blinds hang in the window, which was also a security problem- Anyone could look it if they were open. Again, clutter, clutter, clutter.

This organizer turned out to be the perfect touch with the freshly painted cubby boxes. What a fun way to organize.
Before- This was really the only piece I had to work with, but again, NO color and very BLAH! But I had a few tricks up my sleeve :-)

Every playroom needs a play kitchen! That it exactly what I gave them, too. A little retro red kitchen to work with the once very retro space!

No comments:
Post a Comment